How to Fix Concrete Sealer Problems

When it comes to acid staining, concrete sealers are the hardest part of the equation. Mistakes are easy to make, and can be hard to fix. Below are 3 common problems that can occur when using quality sealants, and steps to take in order to troubleshoot solutions.
Jump to a Specific Sealer Problem:
Sealer Turned A White or Cloudy Color
Blisters On Sealer
Sealer Is Flaking
Sealer Turned A White or Cloudy Color

A white or cloudy color is caused by moisture that is trapped inside the sealer. There are a number of reasons this could have occurred.
- The sealer was not completely dry when an additional coat was applied. It's important to allow the sealer to dry completely clear, before applying an additional coat. Water based sealers can be impacted by the surrounding temperature and humidity levels. The ideal environment is a warm temperature (70-80 ℉) and low humidity (50% or less). If the temperature is too low (less than 45 ℉) or the humidity is too high (above 65%), surface crust could form before the water can completely evaporate, thereby trapping the moisture and causing the sealer to dry a cloudy white or powdery color. However, if it's too hot and too humid, then also it's possible the sealer surface could dry faster than the moisture can escape.
- The sealer was applied too thick. It's important to apply concrete sealers in thin and even coats. The best practice is to imagine you are painting a wall. You want to work in the same general direction, while also applying the sealer at angles in order to stretch and smooth it out. Work in a north/south direction for the first coat, and then an east/west direction for the second coat.
- Another potential cause is rain or morning dew. It's best to wait to seal concrete until the weather is dry - ideally less than 65% humidity. The sealer needs to have 12-24 hours cure time prior to any moisture getting on it, so avoid fog or dew during this period.
Solution: How to fix concrete when the sealer turns a cloudy white color
How to remedy the situation will depend on how deep the moisture is trapped within the sealer.
Moisture is only at surface level
If only the top surface was impacted and the sealer has been applied within the past 1-2 days, then using Acetone with a rag or scrub brush should open the sealer enough to let the moisture escape. After it's dry, you may need to apply a small amount of concrete sealer and smooth it out. However, the acetone needs to be completely removed before applying more sealer. If you only used a light small amount then it may evaporate completely. Otherwise, you need to allow it to dry for 24 hours and then gently wash the acetone off with clean water and allow to completely dry prior to applying more sealer. As always, test a small spot before doing the entire area.
Moisture is trapped deeper in the sealer
If the cloudy colors is trapped deeper in the sealer, then a strong chemical such as Xylene, Toluene, or Xylol will be required. All three are essentially the same product but with different names. These chemicals will open the sealer quite easily. As long as the air is warm and dry, then the moisture will escape and the colors of the sealer will clear.
If the the moisture covers a major part of the area - but it's trapped in the surface and not deep, and the sealer has only been down for 1-2 days - then all you need to do is simply spray the Xylene onto the surface. The Xylene will quickly open the sealer up and allow the moisture to escape, causing the sealer to dry a clear color. You likely won't need to apply any more sealer to areas that are just sprayed.
If the sealer has set for more than 2 days, then you will need to use scrub brushes with the Xylene in order to strip the sealer off. It's important to ensure there is plenty of ventilation. Make sure to turn off all pilot lights and gas. If possible, try to work during the part of the day when the weather is cooler.
The Xylene needs to be completely removed before applying more
sealer. If you only used a light small amount then it may evaporate
completely. Otherwise, you need to allow it to dry for 24 hours and then
gently wash the xylene off with clean water and allow to completely
dry prior to applying more sealer. As always, test a small spot before
doing the entire area.
How to use Xyelene
Apply the Xylene in sections. Pour the Xylene on the surface and allow it to sit for about 45 seconds. Then, pour on a little more and use a stiff straw scrub brush to lightly scrub and break up the sealer. The Xylene will melt the sealer back into it's liquid form. If you are working outdoors, you can use a power washer to blow the sealer off. Otherwise, you will need to use wide scrapers to drag the re-liquified sealer into a pile. We suggest using aluminum painter's shields as scrapers. These can be found at local home improvement stores.
Then you need to use a square point shovel to scoop up the sealer and place in a bucket for disposal. The objective is to remove the bulk of the sealer. Once it completely dries, you can re-apply the sealer. For areas that are scrubbed and the sealer is stripped off, you will need to apply 2 coats.
Safety tip
Acetone and Xylene are flammable and aromatic hazardous products. However, they are what we recommend using. You can try using safer alternatives such as citrus strippers. Regardless of the product you select, be sure to read all the instructions and warnings on the label in order to keep your work environment safe and productive.
Blisters On Sealer

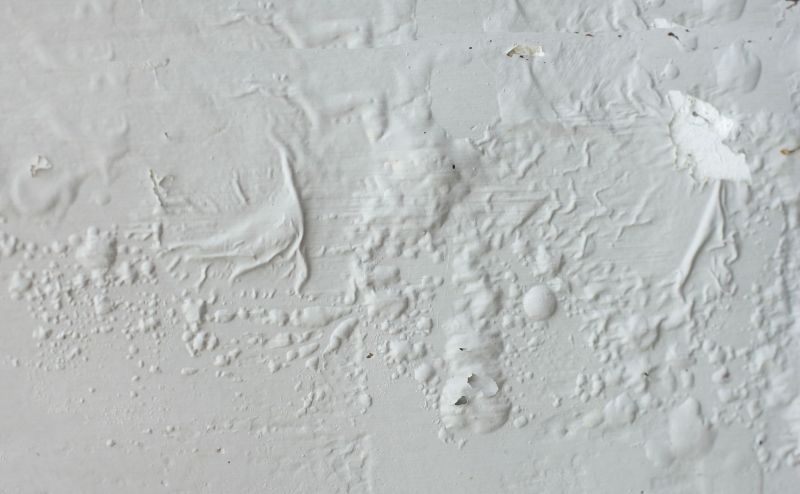
Blisters occur primarily with solvent based sealers, when the surface or the surrounding air is too hot. High temperatures from direct sunlight are common culprits. In these conditions, the sealer will dry out on the surface before the solvent has evaporated. The base of the sealer flashes off too fast, forming bubbles in the sealer as it exits. For this reason, it's best to apply concrete sealers during the cooler part of the day.
Solution: How to fix bubbles in sealer
If the temperature isn't too hot, then apply a new coat of sealer to re-liquify the existing sealer. However, if bubbles continue to form then try sealing during a cooler time of year.
Another option if blisters form while applying is to use a leaf blower. Blow across the surface of the sealer after the floor has been sealed, but before it has dried. This will pop the blisters and allow the sealer to smooth out and dry.
Sealer Is Flaking

When a concrete sealer flakes, it is usually because of one of the following reasons:
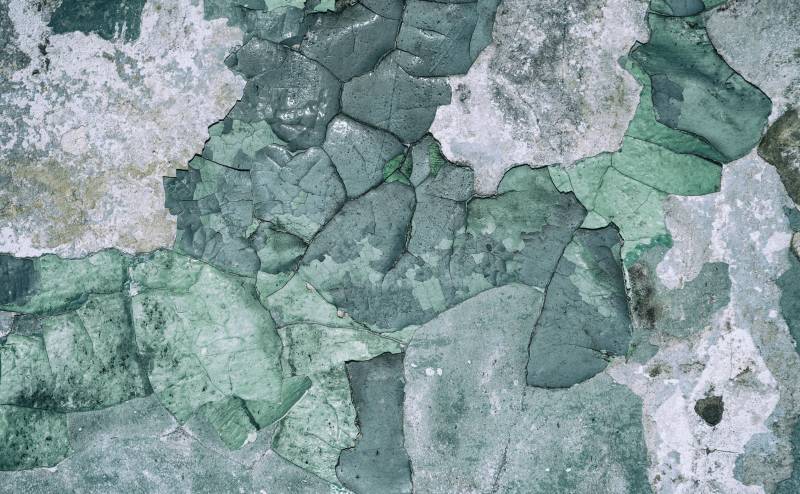
- The concrete was not dry enough when the sealer was applied. If the concrete it too wet, flaking occurs because the sealant cannot bond properly to the surface.
- The concrete stain was not neutralized in advance. When a stain isn't properly neutralized, the sealer will lose its chemical bond.
- A non breathing sealer was used, such as solvent based sealers. Moisture then wicks through the concrete during times of alot of water such as heavy rains, and once reaching the surface it breaks the sealer bond.
Solution: How to fix a flaking sealer
The procedure for curing a flaking sealer is the same, regardless of the which situation is causing the problem.
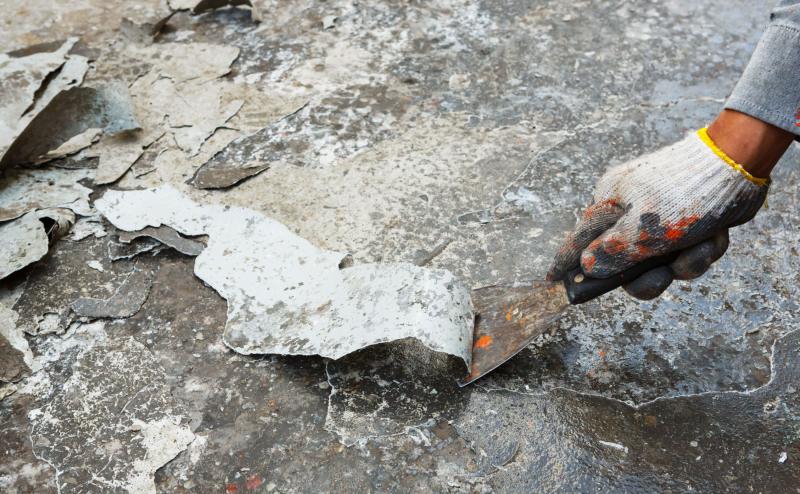
Ensure the area has plenty of ventilation. Turn off all gas and heat sources. Then pour Xylene or a citrus stripper onto the concrete. Let it sit until the sealer is softened.
Apply more Xylene or stripper and scrub the sealer using a stiff straw scrub brush on a broom handle, until the solution re-liquifies. Then use a paint shield or wide scraper to scrape the sealer into a pile. Use a shovel to scoop it up and place it into a bucket to be carried off.
Finally, allow the area to completely dry. This usually takes a few hours. Then reapply the first coat of sealer. Allow the area to dry again until it's completely clear and not sticky. Apply a second thin coat of sealer. Allow to cure for a day or so and then apply two fresh coats of floor wax. Finally, allow the floor to dry overnight.
The floor should now be more aesthetically pleasing, more scuff resistant, and should never flake again as long as there are no further moisture issues.
A Final Word on Concrete Sealer Problems
When a sealer does not look or perform as it should, it usually is because of one of the three reasons outlined above. The best way to avoid these situations is to apply the sealer correctly the first time. Fortunately, if you run into issues, there are steps you can take to fix the sealant so your floor looks as good as new.
